Upload File as Template
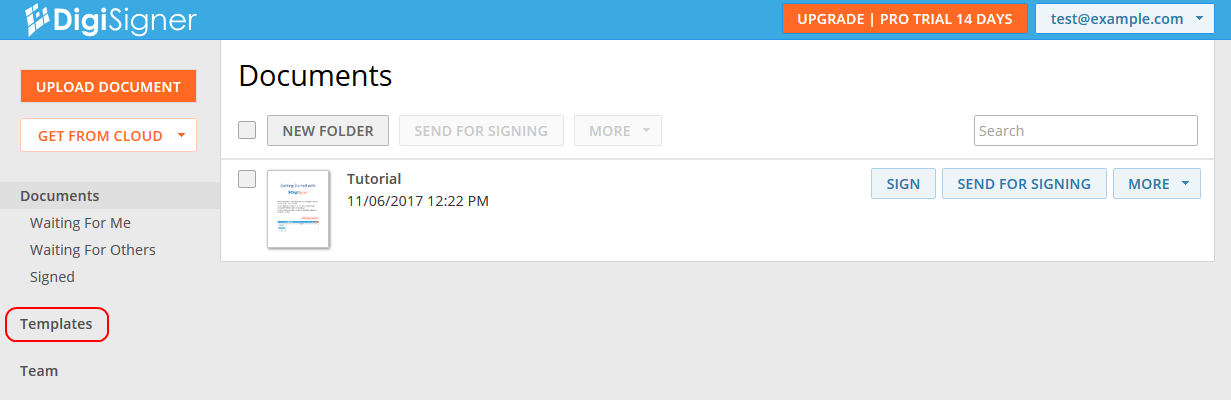
After signing up or logging in, you will see the list of documents. To upload your file as a template, you should first switch to the list of templates. To do this, click on the link ‘Templates’.
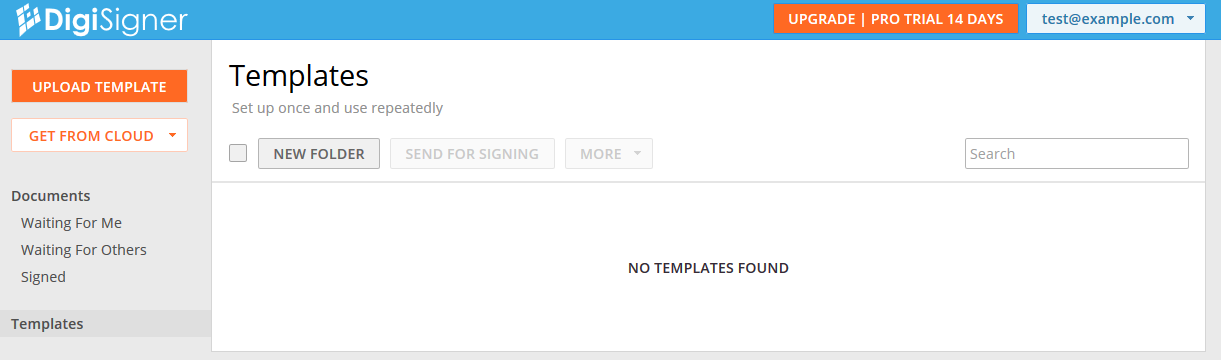
You will see your template list, which is empty at the moment.
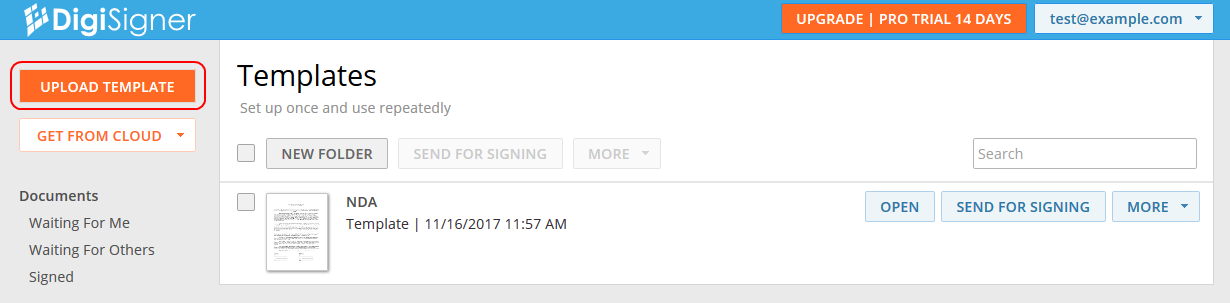
To create a template from your form, click on the ‘UPLOAD TEMPLATE’ button and choose your file. It will be uploaded to DigiSigner.
Configure Template
You can now make changes to your template, such as adding your signature, or specifying where the recipients should place their signatures or enter texts. To do this, click on the ‘OPEN’ button or on the template image to open the template. The template will appear on the screen.

You can now add your signature to the template, which means that you will not need to add it every time you send the template out to be signed. To do this, click on the document, and type, draw or upload your signature in the dialog box that pops up.
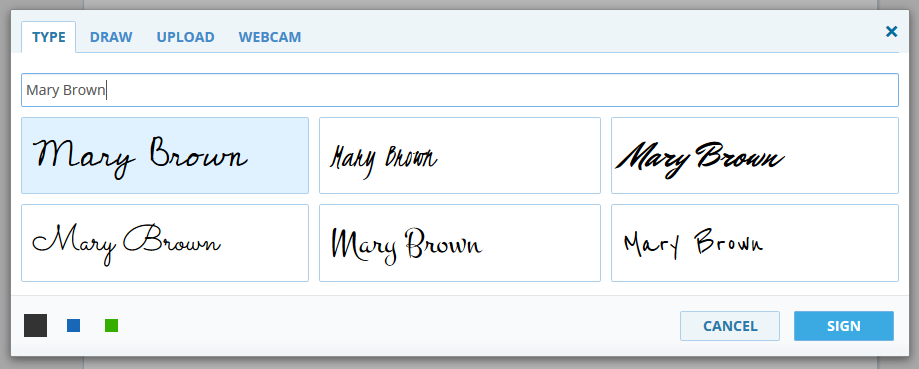
For more information on how to do this, please see our tutorial How to Create Electronic Signature.
You have the option of specifying where signers should place their signatures or enter texts. Please note that this step is optional. If you skip it, the signers will be free to choose where to sign the document or enter texts.
In our tutorial, we assume that you want to invite one person to sign the document and enter some text in the specified fields. To specify where the signer should place the signature, we will add a signature field to the template. To do this, click on the ‘SIGNATURE FIELD’ button.
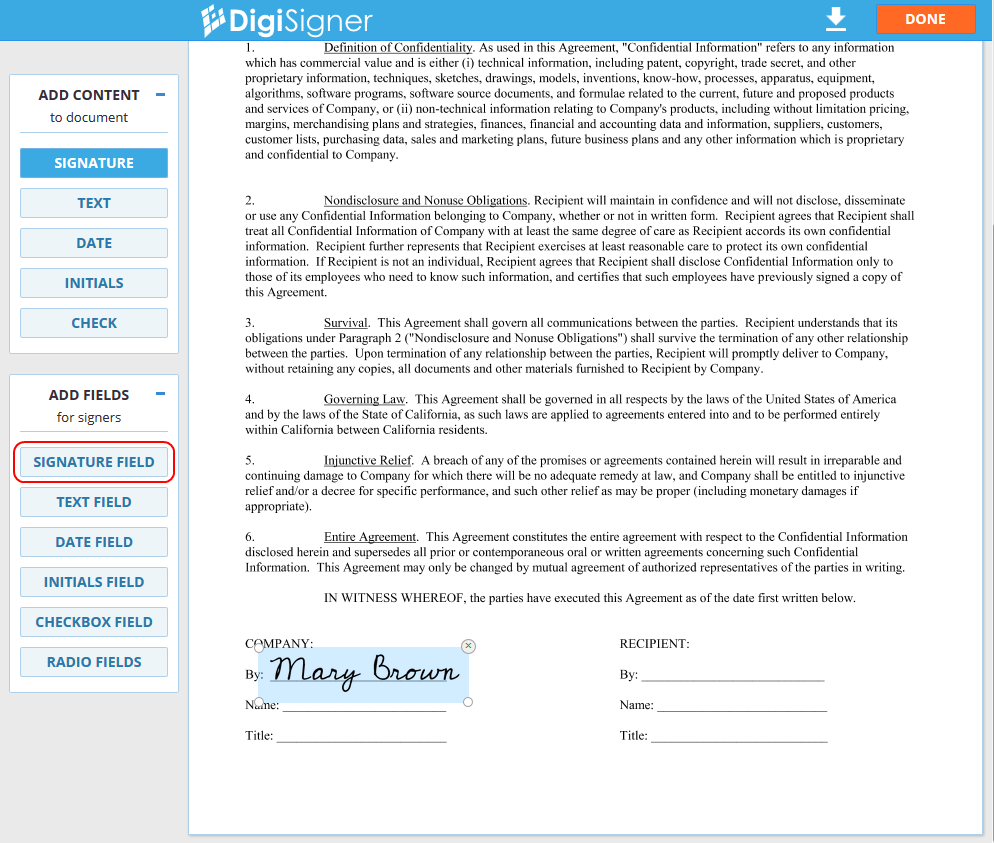
Then click in the document where you would like to place the field. The field properties dialog box will pop up.
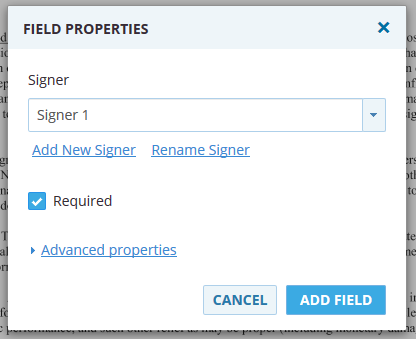
In this dialog box you can change your field’s settings, add a new signer, or rename an existing signer. Click on ‘ADD FIELD’ when you are finished. A new signature field will then appear in your document.
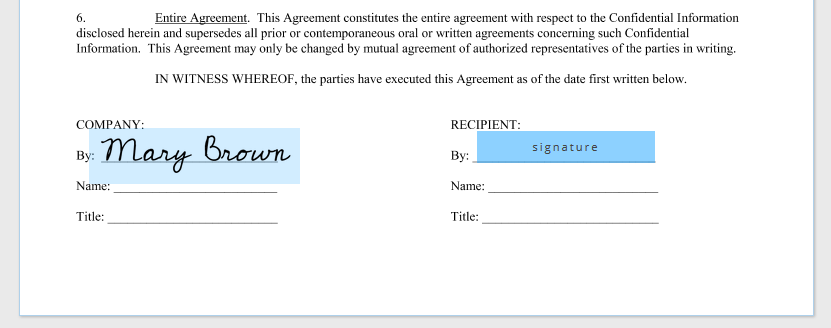
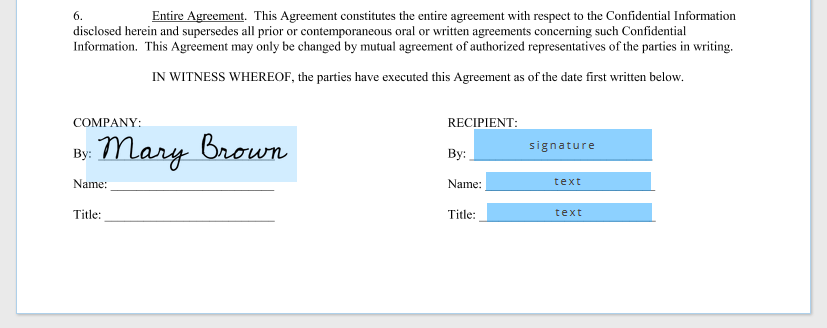
You can resize the field and position it wherever you like. If you click on the field, the field properties dialog box will pop up again allowing you to update the field’s settings. You can also add other types of fields to your document by selecting them in the ‘ADD FIELDS’ block.
Here is how the document looks with a signature and text fields.
When you are finished adding fields, just click on the ‘DONE’ button to save the changes. You will then be redirected to your list of templates. You can always open the template again to change the position or size of the fields, or to add new fields.
Send Template for Signing
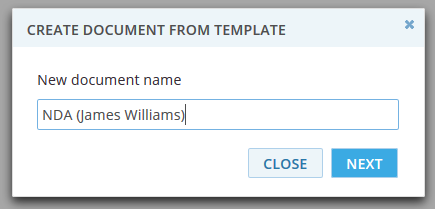
To send the template out for signing click on ‘SEND FOR SIGNING’ and enter a name for the document that will be created as the template’s copy.
Then press ‘NEXT’ and enter the signer’s email address.
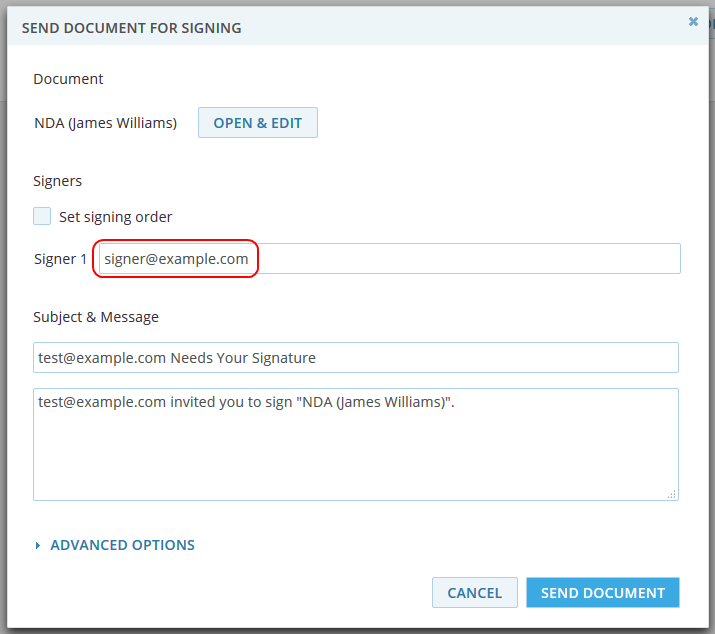
If you need to add customer-specific data to your document you can click on the OPEN & EDIT button and add any required information.
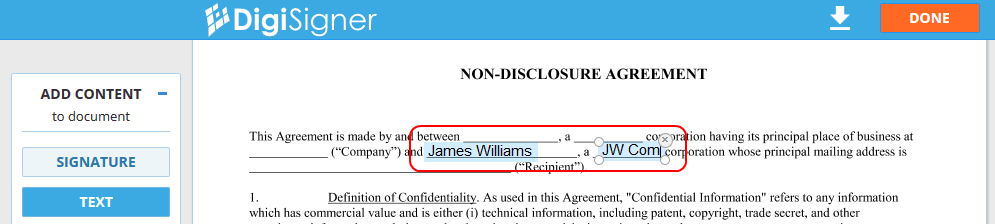
Click on ‘DONE’ to save the changes and return back to the ‘SEND DOCUMENT FOR SIGNING’ dialog. The changes will be added to the template’s copy and the template itself will stay intact.
In the dialog, you can also specify your own subject and email text.
Click on the ‘SEND DOCUMENT’ button. The email with the link to your document will be immediately sent to the signer.
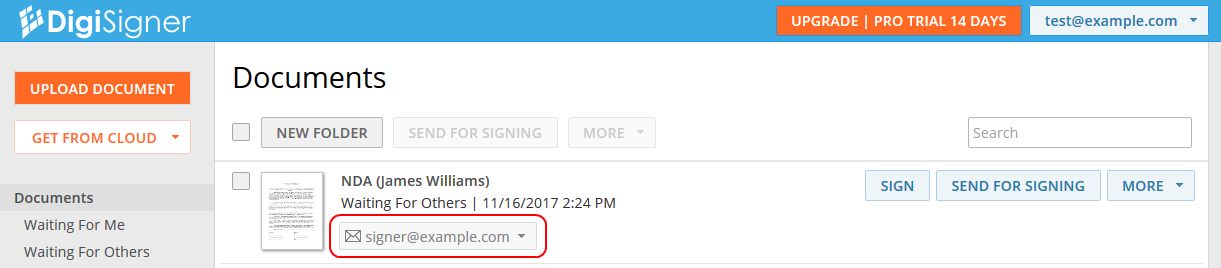
Click on the ‘Documents’ link to switch to the documents list. You will now see a new document in the list. The email address of the invited person will be displayed as part of the document information.
Signers to Sign Your Document
The signer will receive an email with your text and the ‘Open Document’ button, which is automatically appended to the email. After clicking on this button, the document will open and the signer will be able to complete the fields you added to the document. We describe this process from the signer’s point of view in more detail in the tutorial How to Use Fields in Your Documents.
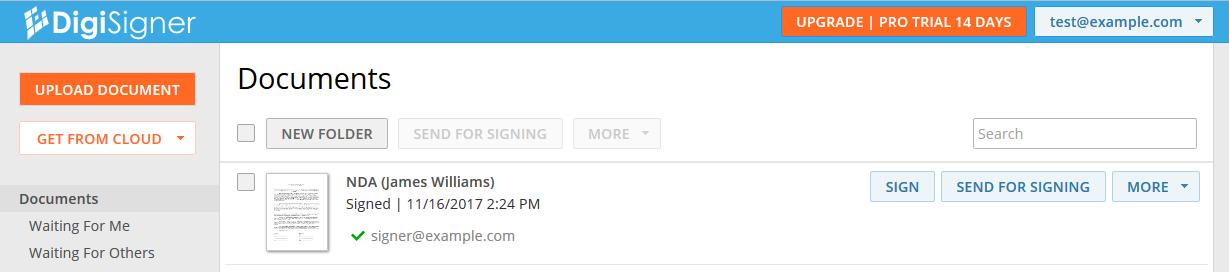
After the signer completes your document, you and the signer will both receive it via email. In your account, you will notice that the icon has changed to the green check mark. This means that the document was successfully signed. The document status will have changed to ‘Signed’.
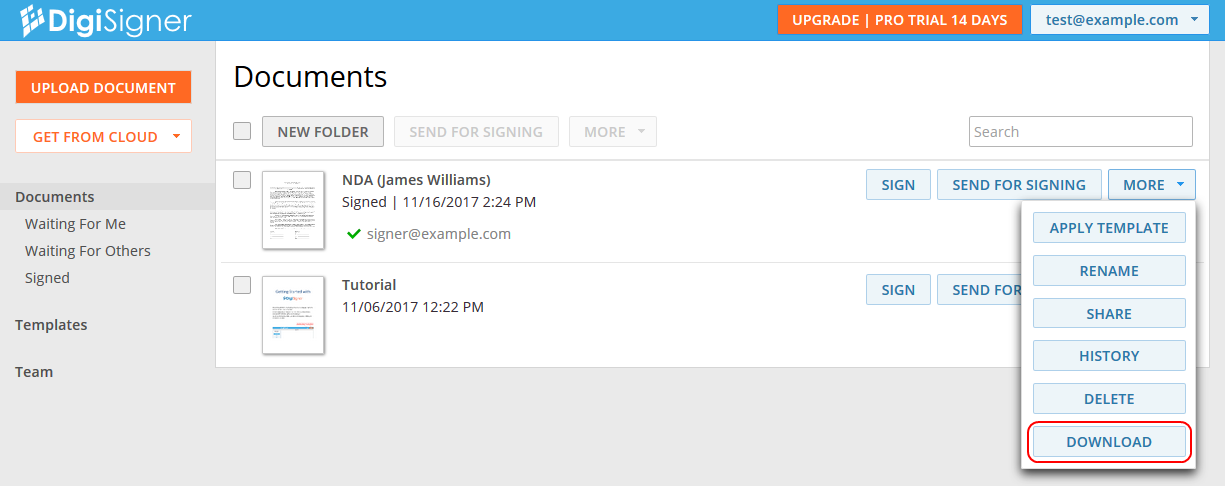
You can always download the completed document from your account using the ‘DOWNLOAD’ button.
We hope you enjoyed our tutorial. If something is unclear, or you have any suggestions, please don’t hesitate to contact us.