List of Documents
After signing up, you will see a list of your documents. We have already added a sample document to the list, so that the list doesn’t look completely empty. You can always delete it later.
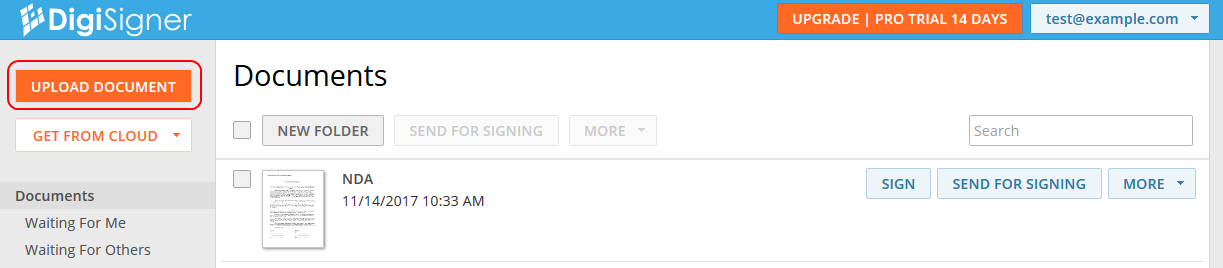
Upload Document
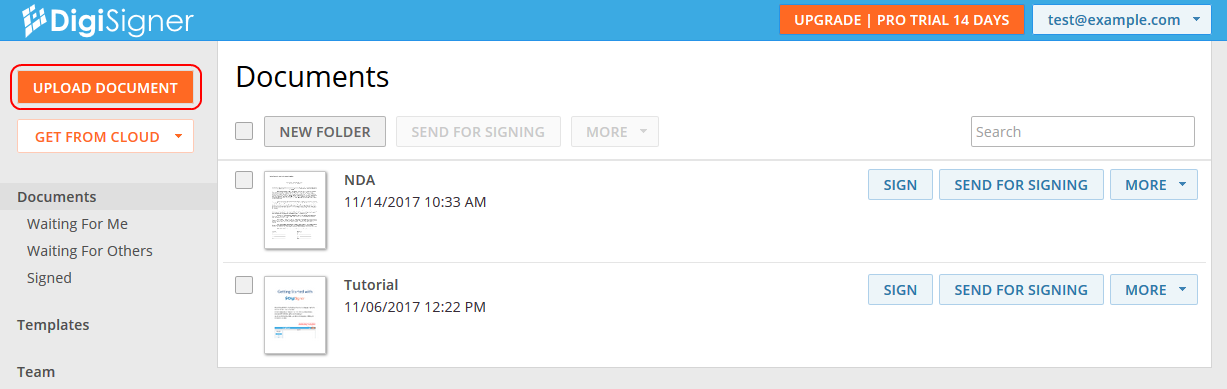
You will begin by uploading your own document. Click on the orange button ‘UPLOAD DOCUMENT’ and choose the document you would like to sign. This can be a PDF, Word, Excel, TXT, RTF document or an image file. After uploading your document, it appears in the list.
Type Signature
To sign the document, click on the ‘SIGN’ button or on the document image. The document will appear on the screen. To create a signature, click on the document. The signature dialog will pop up.
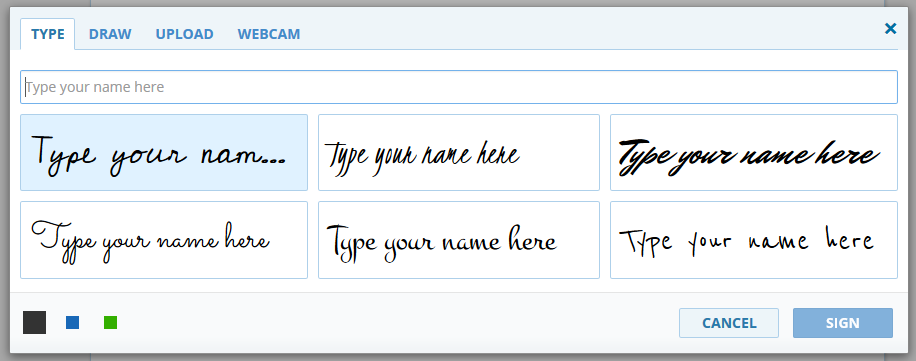
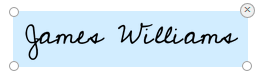
With DigiSigner, you can create four different types of signatures. You can type, draw, upload your signature or take a photo of it using web camera. For every signature type, there is a tab in the dialog. Switch to the ‘TYPE’ tab, enter your name and choose your font.
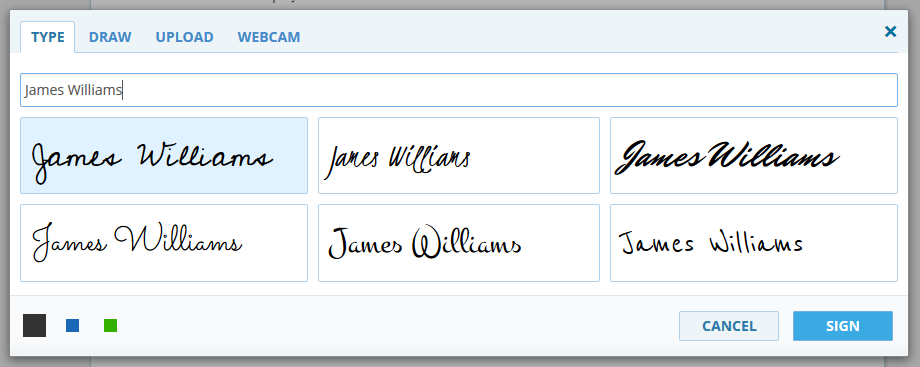
Then click on the ‘SIGN’ button and your signature will be added to the document.
Draw Signature
Click on the document once again and switch to the ‘DRAW’ tab in the signature dialog. Here, you can draw your signature using the mouse in the same way you would use a pen. If you are not completely satisfied with your first attempt, just click on the ‘CLEAR’ link at the top-right corner and try again.
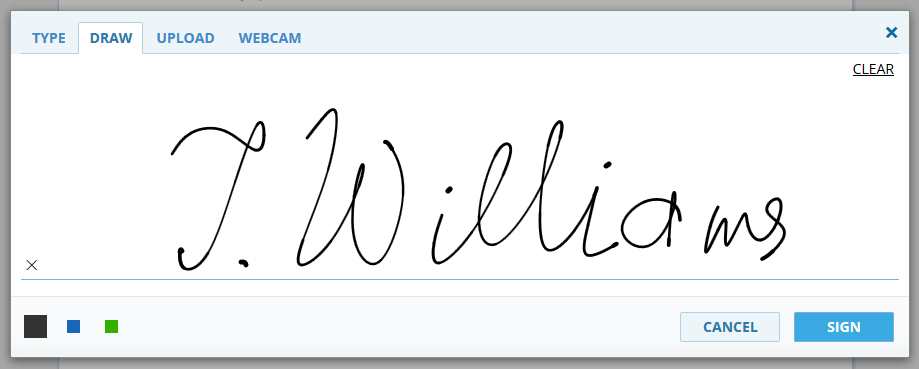
Click on ‘SIGN’ to add your signature to the document.
Upload Signature
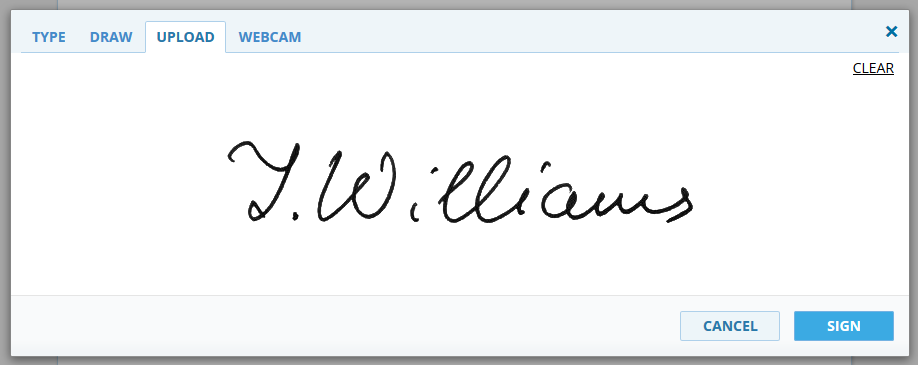
If you already have an image with your signature that you may have created by scanning or taking a photo of your handwritten signature, you can upload it in the ‘UPLOAD’ tab. To do this, switch to the ‘UPLOAD’ tab in the signature dialog, click on ‘UPLOAD SIGNATURE’ and choose your signature image file. Your signature will be immediately uploaded. Click on ‘SIGN’ to add it to the document.
Download Document
Now we have a document with several signatures added to it. You can move these signatures, resize them, or remove them from the document. When you are finished, click on the ‘DONE’ button at the top-right corner. Your signed document will be automatically saved on the server, and you will be redirected to the document list.
You can download your signed document at any time. To do this, just click on the ‘MORE’ combo box and choose the ‘DOWNLOAD’ button.

We hope you enjoyed our tutorial. If something is unclear, or you have any suggestions, please don’t hesitate to contact us.