This tutorial explains how to configure your own templates via DigiSigner dashboard and use them for sending signature requests via our eSignature API (Application Programming Interface).

When to Use Templates

There are many workflows where you need to send out for signing each time one and the same form. In such cases it normally doesn’t make sense to generate it and specify the positions of all the fields every time.

Instead you can upload your form as a template via DigiSigner dashboard and add fields to it in the GUI mode. Then you can send out this template via our API each time when you need to get your form filled out and signed.

Every time we will automatically create a copy for your template and send it out for signing. The template itself will stay intact and ready for reuse.

Additionally you have the option to dynamically pre-populate the template’s fields. If you already have the signer’s data in your database you can insert them into these fields before sending the template out. You can also mark your fields as read-only to protect the data from changes on the side of the signer.

Upload and Configure Template

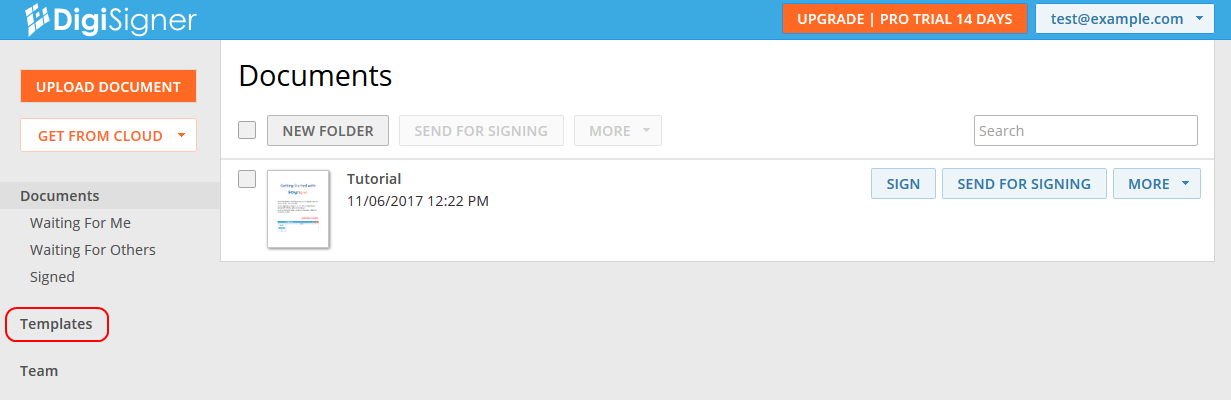
After signing up or logging in into your DigiSigner account, you will see the list of documents. To upload your form as a template, you should first switch to the list of templates. To do this, click on the link ‘Templates’.

1_templates_link

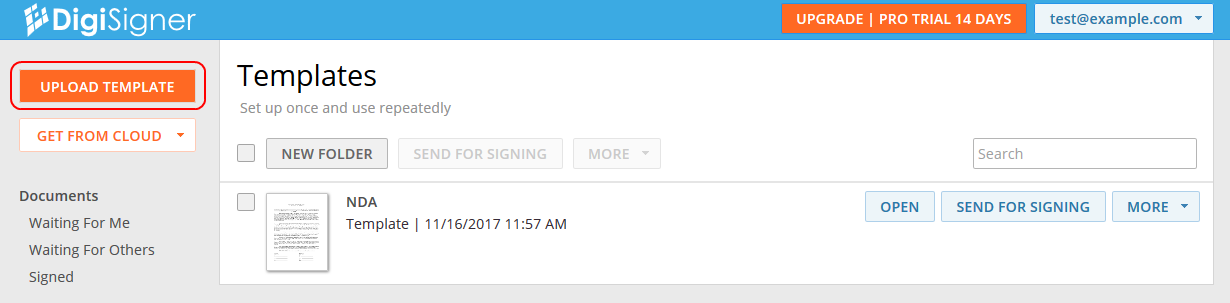
You will see your template list, which is empty at the moment.

2_empty_template_list

To create a template from your form, click on the ‘UPLOAD TEMPLATE’ button and choose your file. It will be uploaded to DigiSigner.

3_template_list

Then click on the template image to open it. In your browser address bar you will see the page URL.

4_template_url

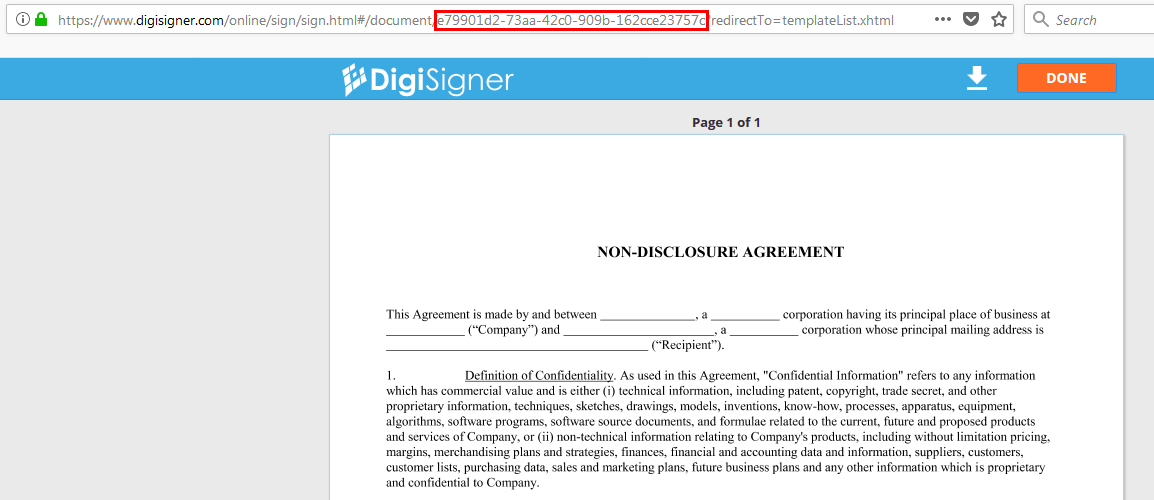
The URL will have the following form

https://www.digisigner.com/online/sign/sign.html#/document/e79901d2-73aa-42c0-909b-162cce23757c?redirectTo=templateList.xhtml

The only difference to yours will be in the highlighted id. In our case it is e79901d2-73aa-42c0-909b-162cce23757c, in your case it will be something different. This is the template id that we will need for the next step to send a signature request for this template.

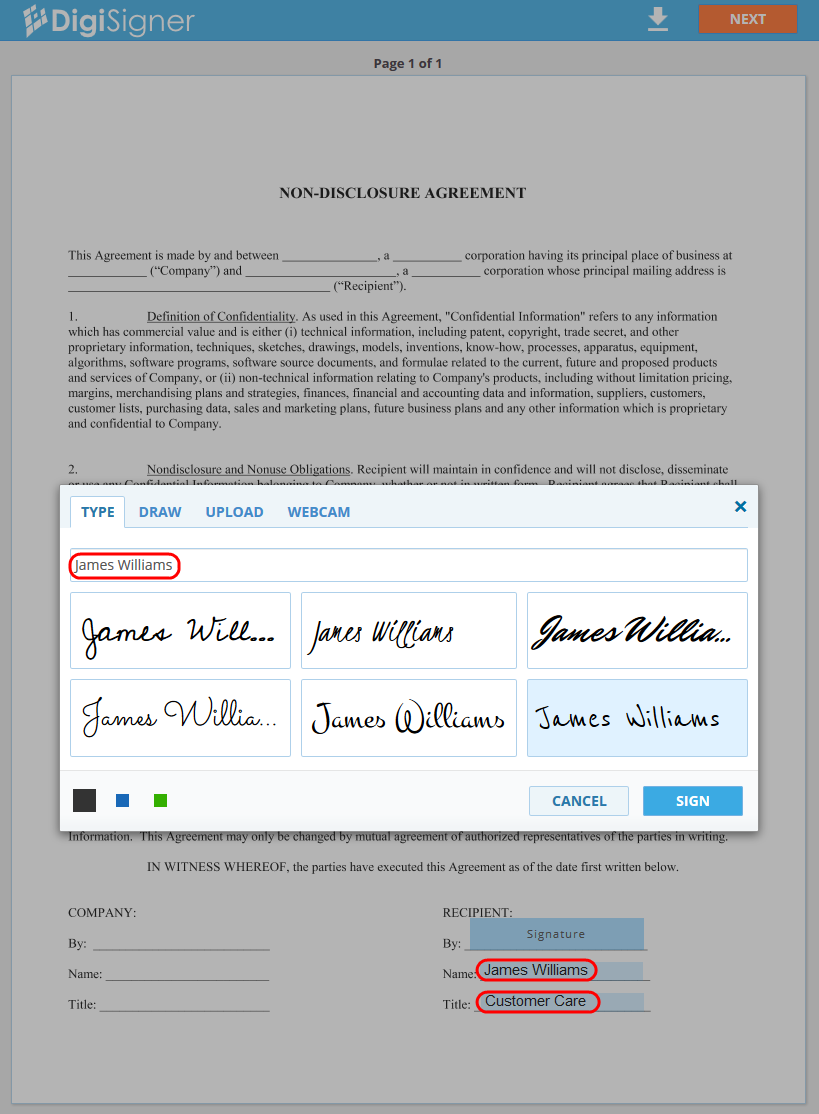
Now you can add fields to your template. You don’t have to do it, but this is useful when you want to be sure that the signer will sign your form and enter texts only in the specified areas, in the fields.

To add fields use the buttons in the block ‘ADD FIELDS’ on the left side. See here for more details how to do it How to Use Templates.

This is how the result may look like.

5_template_fields

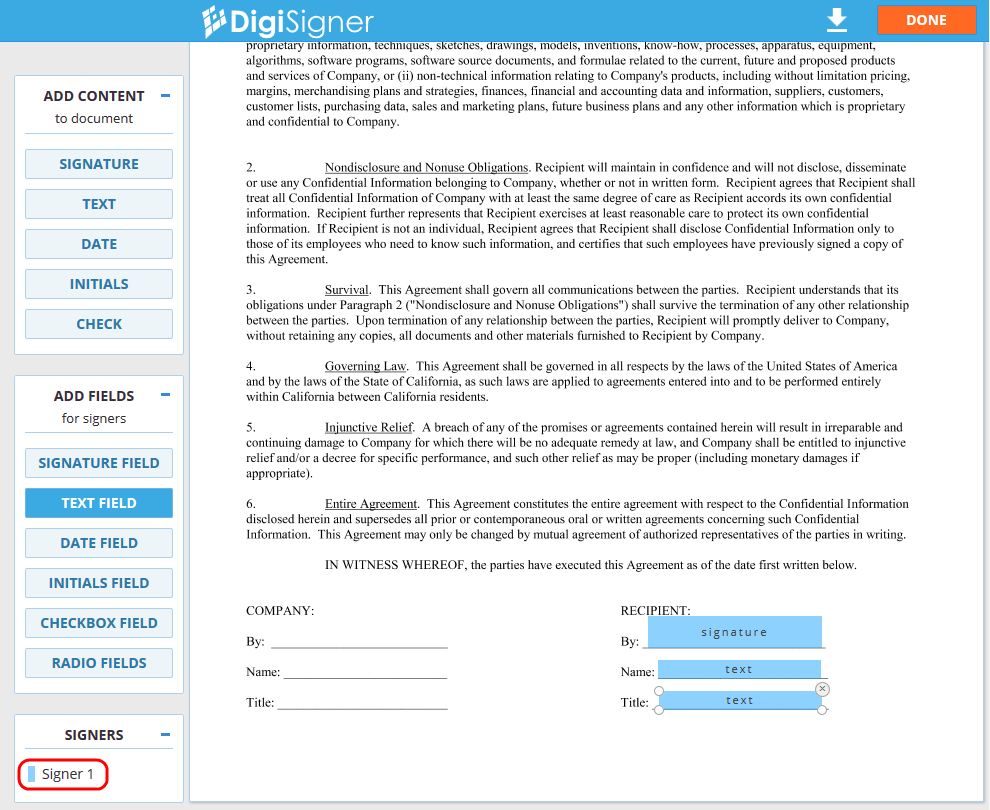
Please note the signer’s list in the lower left corner. Currently there is only one signer, Signer 1, which is the default label for the first signer, but you can change it. We call this label the signer’s role, and you will need it when you will send out a signature request.

It is necessary to specify the role for each signer when sending out a template for signing, because for every signer we need to know which fields should be shown to them (basically the fields from which role).

Send Signature Request

To send out your template for signing you can use the following sample code.

curl -u YOUR_API_KEY: https://api.digisigner.com/v1/signature_requests \
-H 'Content-Type: application/json' \
-d '{"documents" : [ \
      {"document_id": "e79901d2-73aa-42c0-909b-162cce23757c", \
       "title": "NDA for James Williams", \
       "signers": [ \
        {"email": "invited_signer@email.com", \
         "role": "Signer 1" \
        }] \
      }] \
    }'

Please note that to identify the template we use the template id that we extracted from the URL in the last section (as the value for the document_id parameter).

We also use the signer’s role Signer 1 as the value for the role parameter.

Another parameter that can be useful for you is the title. This is the title of the document that will be created as the template’s copy. By default the template’s title will be used also for its copy.

Populate Template Fields

In some cases when you send out a template for signing you may need to populate its fields. For example if you already have the signer’s data in your database, like name or title, you may want to insert them in the corresponding fields, so that the signer would not need to enter them himself.

The following code sample demonstrates how you can do this.

curl -u YOUR_API_KEY: https://api.digisigner.com/v1/signature_requests \
-H 'Content-Type: application/json' \
-d '{"documents" : [ \
      {"document_id": "e79901d2-73aa-42c0-909b-162cce23757c", \
       "title": "NDA for James Williams", \
       "signers": [ \
        {"email": "invited_signer@email.com", \
         "role": "Signer 1", \
         "existing_fields": [ \
          {"api_id": "f284ecd1-a0d4-45e9-bd89-5ee4fc02964a", \
           "content": "Customer Care" \
          }, \        
          {"api_id": "a40ea5e4-5189-4fdd-8e5a-dc7726661d16", \
           "content": "James Williams" \
          }, \
          {"api_id": "1ad346e5-daec-4bd9-b65d-1b856ae27dee", \
           "content": "James Williams" \
          }] \
        }] \
      }] \
    }'

Please note that we added a new block existing_fields to the signature request. In this block you can specify parameters for the fields that already exist in your template.

In our code sample we specified the signer’s title (“Customer Care”), signer’s name for the text field (“James Williams”) and signer’s name for the signature field (also “James Williams”). The name we specified for the signature field will appear in the signature dialog when the signer will click on this field.

This is how the document will be displayed to the signer.

6_populated_fields

To assign content to specific fields we need to identify them somehow. We do it using their api_ids. The api_idis an attribute which is automatically generated when you add a field to your document or template. The purpose of api_ids is to identify fields via API.

To be able to identify your template’s fields you will need to know their api_ids. To get them you should execute the following CURL request for your template from the command line.

        
# request
curl -u YOUR_API_KEY: https://api.digisigner.com/v1/documents/e79901d2-73aa-42c0-909b-162cce23757c/fields 
        
# response        
{"document_fields":[  
 {"api_id":"f284ecd1-a0d4-45e9-bd89-5ee4fc02964a",
  "role":"Signer 1",
  "type":"TEXT",
  ...
 },
 {"api_id":"a40ea5e4-5189-4fdd-8e5a-dc7726661d16",
  "role":"Signer 1",
  "type":"TEXT",
  ...
 },
 {"api_id":"1ad346e5-daec-4bd9-b65d-1b856ae27dee",
  "role":"Signer 1",
  "type":"SIGNATURE",
  ...
 }]
}

Please note the template id in the request URL. This should be of course the id of your own template.

In the response the most interesting part for you are the api_ids of the template fields. These ids are immutable and you can use them in your code.

Insert Signer’s Data in Read Only Fields

In some cases you may want to protect the inserted data from changes on the side of the signer. To do this you can mark some or all of the template fields as read-only.

Here is how your signature request could look like.

curl -u YOUR_API_KEY: https://api.digisigner.com/v1/signature_requests \
-H 'Content-Type: application/json' \
-d '{"documents" : [ \
      {"document_id": "e79901d2-73aa-42c0-909b-162cce23757c", \
       "title": "NDA for James Williams", \
       "signers": [ \
        {"email": "invited_signer@email.com", \
         "role": "Signer 1", \
         "existing_fields": [ \
          {"api_id": "f284ecd1-a0d4-45e9-bd89-5ee4fc02964a", \
           "content": "Customer Care", \
           "read_only": "true" \
          }, \        
          {"api_id": "a40ea5e4-5189-4fdd-8e5a-dc7726661d16", \
           "content": "James Williams", \
           "read_only": "true" \
          }] \
        }] \
      }] \
    }'

In this code sample we populated two fields (the signer’s name and title) and marked them as read-only, so that the signer would not be able to change their content.

More tutorials and documentation

Signature Request Parameters – all signature request parameters
How to Send Signature Requests – code samples for sending signature requests
How to Embed Documents – how to embed documents on your web site to get them filled out and signed
How to Use Text Tags In Your Documents – how to specify fields in your documents using pieces of text
How to Get Data Submitted By Signers – how to retrieve data signers entered while filling out your form

Don’t hesitate to contact us in case you have any questions or suggestions about using our eSignature API.

Menu