This tutorial explains how to set up custom branding for your DigiSigner account.
How to Set Up Custom Branding
Document Page Branding
DigiSigner allows you to add your own logo to the page people see when they sign your documents.
![]()
Emails Branding
You can also customize the emails that DigiSigner sends to the signers.
![]()
How to Configure Branding
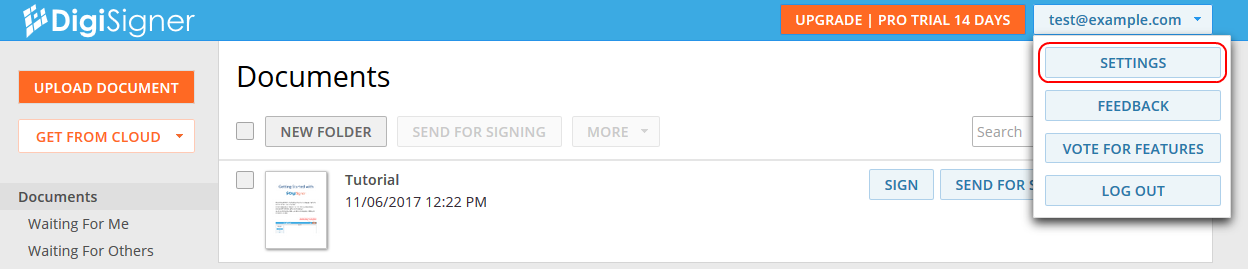
To configure your branding settings click on your email address at the top right corner and select ‘SETTINGS’.
After that, click on ‘PRO’ to select professional settings.
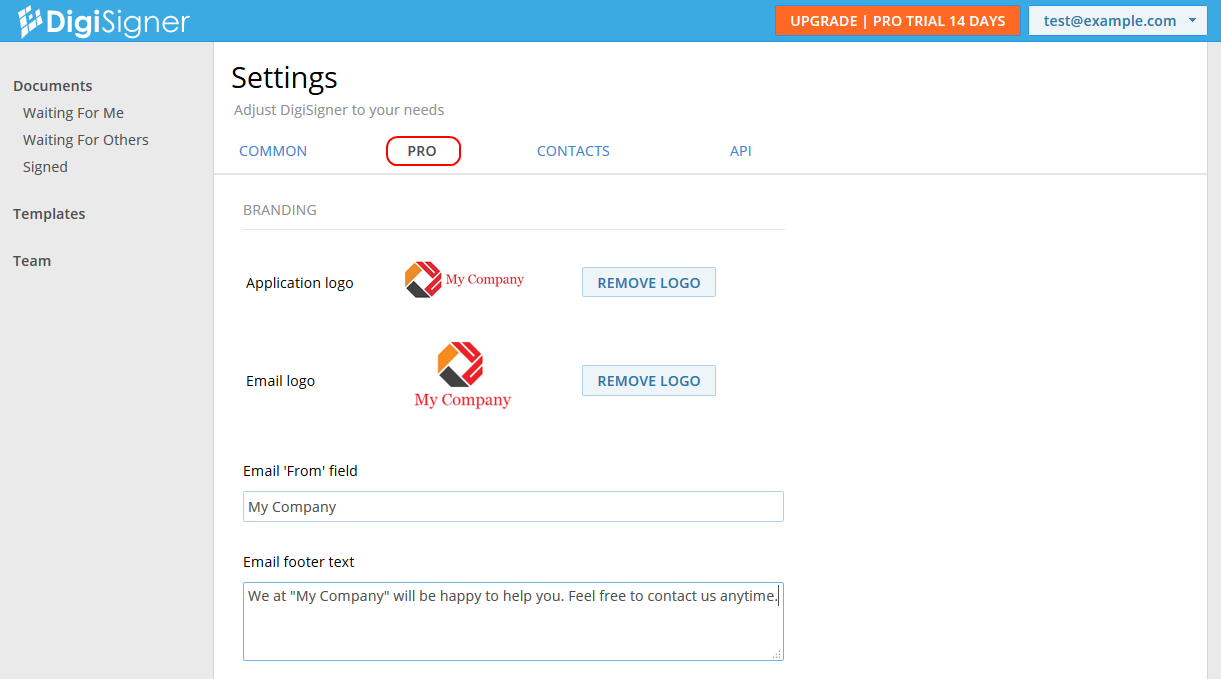
On this page you can upload your custom logos. The “Application logo” appears on the document page. The “Email logo” appears in your emails.
You can also specify what name appears as the email sender to your recipients (“Email ‘From’ field”). Normally it will be your own name or your company’s name. The text in the field “Email footer text” will appear at the bottom of your emails.
We hope you enjoyed our tutorial. If something is unclear, or you have any suggestions, please don’t hesitate to contact us.